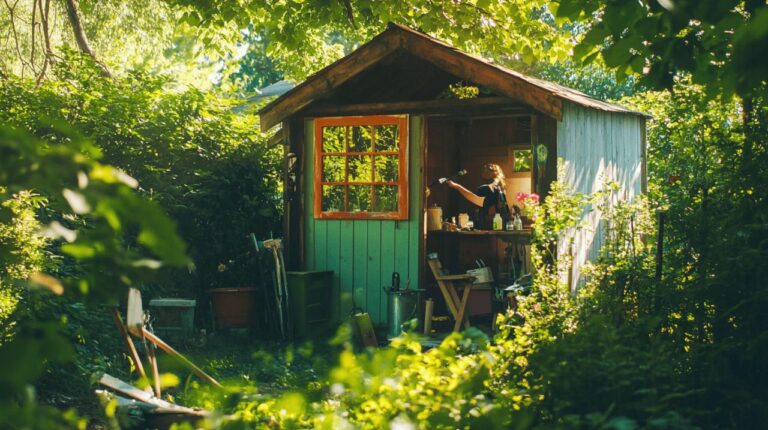
Creating additional storage space in your garden doesn't have to involve spending a fortune or hiring professional tradespeople. With a bit of planning, some basic tools, and a weekend or two to spare, you can construct a practical wooden garden shed that will serve you well for many years. This type of project offers a wonderful opportunity to develop your woodworking skills whilst crafting something genuinely useful for storing everything from lawnmowers to plant pots and all those bits and bobs that tend to accumulate around the home.
Planning Your Shed Build and Laying a Solid Foundation
Choosing the Right Location and Preparing the Ground
Before you start hammering anything together, take time to walk around your garden and identify the best spot for your new structure. Consider access routes for getting tools and equipment in and out, proximity to existing paths, and how the building will look from your house. Check whether any overhanging trees might drop branches or excessive leaves, and think about drainage to avoid creating a puddle magnet. Once you've settled on a location, it's wise to check with your local planning authority about any restrictions or requirements. Many areas allow small garden buildings without formal permission provided they stay under certain size limits, typically around one hundred and twenty square feet, and don't exceed specific height restrictions, often around eight feet. Some regulations also specify that structures mustn't have electrical installations or be used for habitation. Getting clarity on these points early saves potential headaches later. After confirming you're within the rules, clear the area of vegetation, rocks, and debris, then assess whether your ground is reasonably level or if it slopes. Sloped sites can work perfectly well with the right foundation approach.
Constructing a level concrete slab base
A solid, level base forms the backbone of any successful shed build. For ground that isn't perfectly flat, landscape blocks and pier blocks provide an excellent solution, allowing you to create a level platform without extensive excavation or concrete pouring. Position your blocks at regular intervals where the floor frame will sit, using a spirit level and a long straight edge to ensure they're all at the same height. This method works particularly well on slightly sloping lawns and provides good ventilation beneath the structure, helping to prevent moisture buildup. The floor frame itself should be constructed from pressure-treated timber, which resists rot and insect damage far better than standard wood. Using doubled-up boards of substantial dimensions creates a robust framework that won't sag or twist over time. Space your floor joists at regular intervals, typically every sixteen inches, to provide adequate support across the entire floor area. Joist hangers offer a professional finish and ensure each joist sits securely in place, maintaining consistent spacing. Once the frame is assembled and sitting level on your blocks, you're ready to add the floor surface. Tongue and groove OSB panels work brilliantly for this purpose, interlocking to create a smooth, solid surface. The thickness of around twenty-three thirty-seconds of an inch provides sufficient strength whilst remaining manageable to work with. Cut the panels to fit snugly within your frame, applying construction adhesive before screwing them down to prevent any future squeaking or movement.
Building the Wooden Frame, Walls, and Floor Structure
Assembling the Timber Frame and Installing Floor Joists
With your foundation sorted, attention turns to creating the vertical structure. Building your wall frames flat on the ground makes the job far easier than trying to assemble everything whilst balancing on a ladder. Cut your wall studs to the required height, typically spacing them twenty-four inches apart for adequate strength whilst minimising material use. This spacing works well with standard sheet materials, reducing waste and keeping costs down. Design your shed dimensions to work with commonly available building materials, which helps stretch your budget further. An eight-foot cube represents a practical size that maximises storage capacity whilst remaining manageable for a DIY builder. Construct the end walls to the full width, then make the side walls slightly narrower so they'll fit neatly between the end panels when everything comes together. Before raising the walls into position, attach your exterior cladding panels. Doing this whilst the frames are lying flat saves considerable effort and produces neater results. Cut openings for any windows or vents at this stage, remembering that good airflow prevents condensation and keeps stored items dry. Salvaged windows often provide character at a fraction of the cost of new ones, and you might find something perfect at an architectural salvage yard.
Fixing wall planks and treating exposed wood surfaces
Once your wall panels are firmly attached to their frames, you're ready for the exciting moment of raising them into position. This job definitely benefits from an extra pair of hands, as even lightweight structures become awkward when you're trying to hold them upright and fix them simultaneously. Position each wall carefully on the floor frame, checking it's perfectly vertical with your level before securing it with substantial screws. Four-inch screws driven through the bottom plate into the floor frame provide excellent holding power. As each wall goes up, temporarily brace it with lengths of timber to prevent it toppling whilst you work on the next section. When all four walls are standing, check the corners are square by measuring the diagonals, which should be identical if everything's true. Any exposed timber surfaces, particularly those made from pressure-treated wood for the structural elements, benefit from additional treatment. Although pressure-treated timber comes pre-protected against rot, applying wood treatment to cut ends and surfaces enhances protection and extends the life of your structure. This extra step proves particularly worthwhile in the damp British climate, where rain seems to find every possible opportunity to soak things. Consider painting the exterior walls at this stage, before the roof goes on, as you'll have easy access to the tops of the walls. A rich colour adds visual appeal and provides another layer of protection against the elements.
Constructing a Watertight Roof for Your Garden Shelter
Creating the Roof Frame and Installing Support Beams
 The roof protects everything inside your shed and represents one of the most important elements to get right. A simple pitched roof sheds water effectively and proves straightforward to construct. Cut your roof trusses using a specific angle that creates an appropriate pitch, typically around twenty-two and a half degrees works well for this type of building, providing adequate slope without requiring excessive height. Each truss should be identical to ensure an even roofline. Space the trusses at regular intervals along the top of your walls, securing them firmly to the wall plates. Once all the trusses are in place, you can add the roof deck. OSB panels of around seven-sixteenths of an inch thickness provide sufficient strength for a roof of this size whilst remaining easy to handle. Lay the panels perpendicular to the trusses, starting at one end and working across, ensuring each panel lands on the centre of a truss where possible. Secure the panels with screws at regular intervals, being particularly thorough around the edges where wind might try to lift them.
Fitting roofing felt and ensuring proper weather protection
Before adding your final roof covering, install roofing felt across the entire roof surface. This waterproof membrane provides crucial protection, catching any moisture that might penetrate through the outer layer. Roll out the felt horizontally, starting at the bottom edge and working upwards, overlapping each strip by several inches to ensure water always hits a double layer. Staple or nail the felt in place, keeping it reasonably taut but not stretched tight, as some slack allows for timber movement. Drip edges fitted along the bottom edges and up the rakes help direct water away from the structure whilst giving a neat finish. For the final roof covering, architectural shingles offer excellent durability and weather resistance. These composite materials last for many years and prove far easier to apply than traditional tiles. Starting at the bottom edge, fix the first row of shingles according to the manufacturer's instructions, then work upwards in horizontal courses, offsetting each row so the joints don't align. The overlap pattern ensures water flows over the surface without finding gaps. Take your time around the ridge, cutting shingles to create a neat finish at the peak. Adding trim boards using timber along the roof edges and around any openings creates shadow lines that add visual interest whilst covering any cut edges. This attention to detail transforms a basic shed into something that looks professionally built.
Essential Materials and Finishing Touches for Your Garden Cabin
Complete List of Timber, Fixings, and Building Supplies
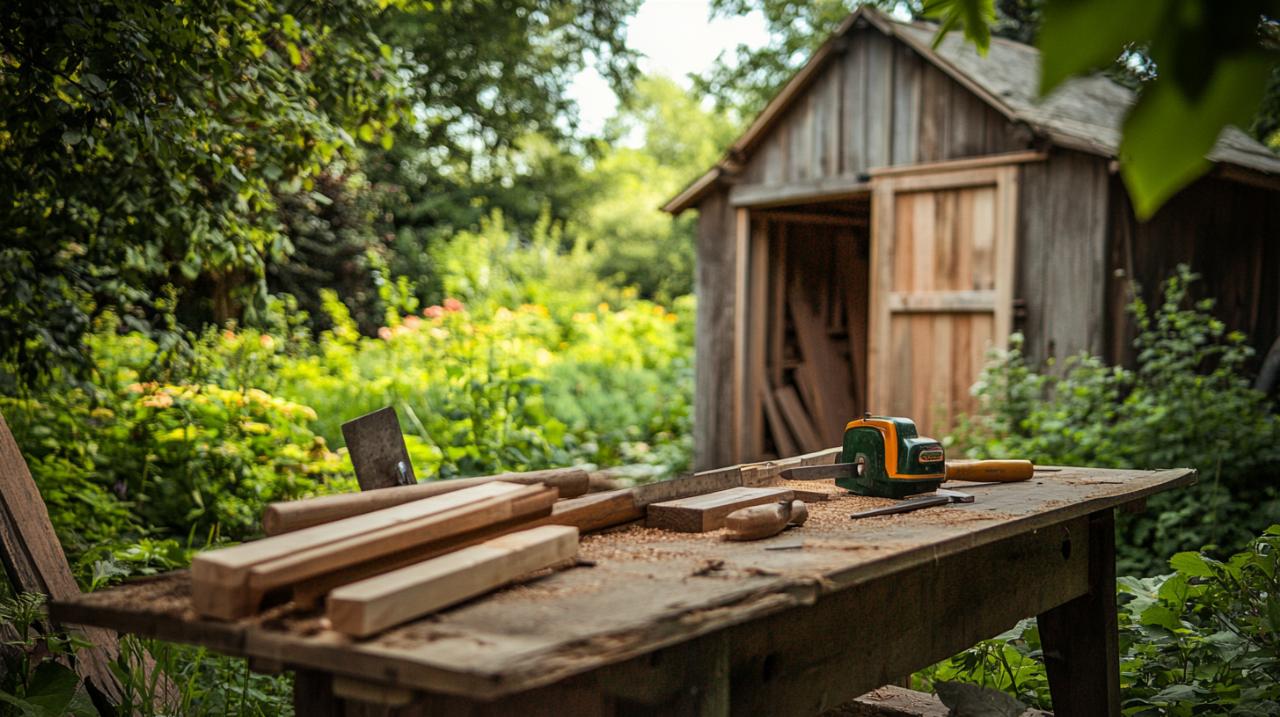
Gathering all your materials before starting construction saves frustrating trips to the builder's merchant mid-project. For the structural elements, you'll need pressure-treated timber in various dimensions, typically heavier sections for the floor frame and slightly lighter material for wall studs and roof components. Calculate quantities carefully, adding a small surplus for mistakes or adjustments. OSB panels form the floor and roof surfaces, whilst your choice of cladding materials covers the exterior walls. Various fixings prove essential, with screws in different lengths forming the bulk of your needs. Screws offer significant advantages over nails for this type of construction, as they hold more securely and allow you to make adjustments if something doesn't quite line up first time. Construction adhesive applied between joints enhances strength and eliminates squeaks. Don't forget exterior caulking to seal gaps around windows and edges, preventing draughts and water ingress. Your roof requires felt, drip edges, and shingles, whilst timber for trim boards adds those finishing touches. Wood treatment protects exposed surfaces, and exterior paint transforms the appearance whilst adding weather protection. For the foundation, landscape blocks and pier blocks provide a straightforward solution. Hardware such as joist hangers, hinges for doors, and any window catches completes the shopping list. Visiting a timber merchant often proves more economical than DIY superstores for the main structural timber, particularly if you explain your project and ask for advice.
Adding doors, windows, and final wood treatment
With the main structure complete, attention turns to making your shed functional and weathertight. Fitting a door requires careful measurement to ensure smooth operation. Frame the door opening during wall construction, allowing sufficient clearance for the door plus its frame. Standard external doors prove expensive, so consider building your own from tongue and groove boards mounted on a Z-frame, which provides strength whilst remaining relatively simple to construct. Substantial hinges rated for external use ensure smooth operation for years to come. Install a secure latch or lock to keep your valuable tools safe. If you've included windows, seal around the frames thoroughly with exterior caulking to prevent water penetration. Inside, consider how you'll organise your storage. Simple shelving constructed from offcuts maximises vertical space, whilst hooks along the walls provide perfect spots for hanging long-handled tools. Paint the floor with a durable deck paint that withstands foot traffic and the occasional dropped tool. This final touch makes sweeping easier and gives a professional finish. Stand back and admire your handiwork. You've created a practical structure that adds value to your property whilst providing exactly the storage space you need. The cost of materials often works out at a fraction of purchasing a ready-made shed, and you'll have gained valuable skills for future projects. Regular maintenance, particularly treating any timber that shows signs of wear and keeping gutters clear if you add them, ensures your garden shelter continues serving you well for decades to come. The satisfaction of using something you've built yourself adds to every visit, whether you're grabbing the mower on Saturday morning or pottering about organising your collection of plant pots and gardening paraphernalia.