
Replacing a garage door can seem like a daunting task, especially when you consider the weight and mechanical complexity involved. However, with the right preparation, tools, and safety measures, you can complete this project without putting yourself or others at risk. This guide will walk you through the essential steps to ensure a safe and successful garage door replacement, from initial preparations to final adjustments.
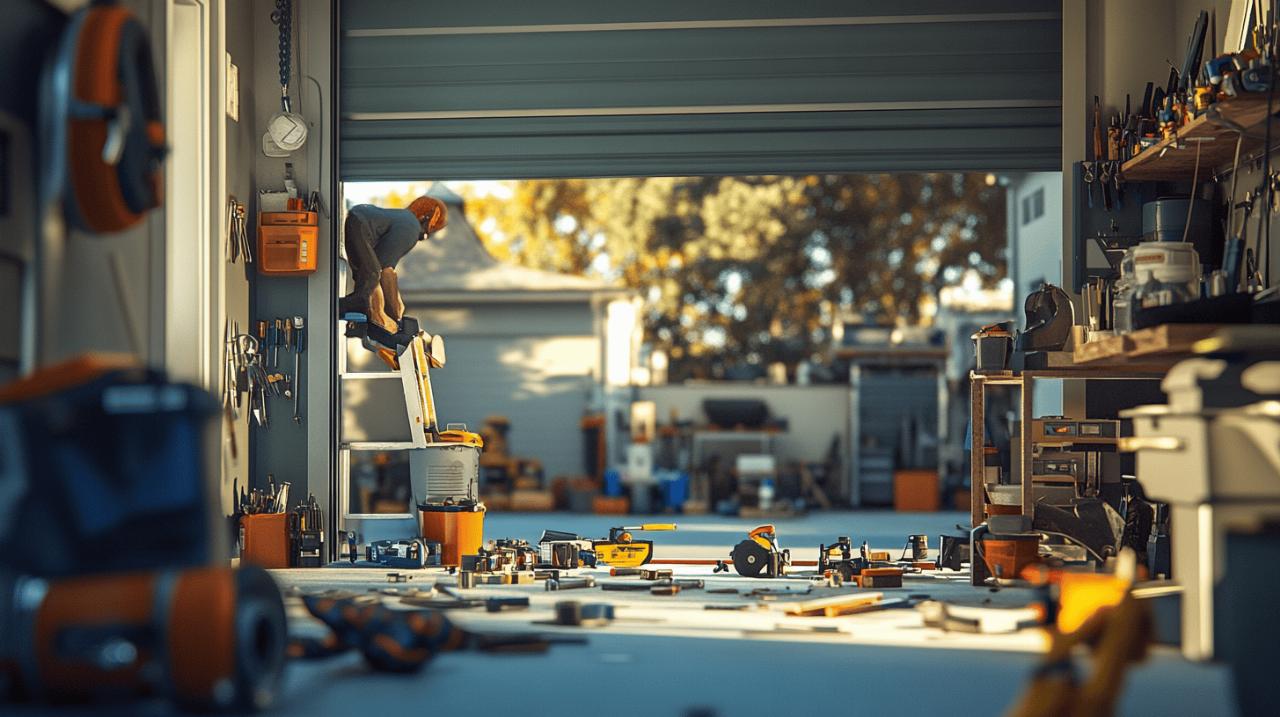
Essential safety preparations and equipment before starting your garage door replacement
Understanding the Weight and Risks: Why Proper Safety Gear Matters
Garage doors are surprisingly heavy, with many weighing over a hundred kilograms, and the average household in the UK uses its garage door more than fifteen hundred times a year. This frequent use means that the springs, cables, and other components are under constant tension, making them potentially dangerous if not handled correctly. Before you even think about starting the replacement, you need to understand that garage door springs are the most hazardous component due to the high tension they are under. Wearing proper safety gear, including gloves and goggles, is not optional but absolutely essential. These items protect you from cuts, scrapes, and more serious injuries that can occur if a spring snaps or a cable breaks unexpectedly. Additionally, using the correct winding bars to release tension in the springs is crucial, as improvised tools can slip and cause severe harm.
Isolating Power Supplies and Securing Your Work Area to Prevent Accidents
Before you begin any work, you must disconnect the power supply to your garage door opener at the mains. This simple step prevents the door from accidentally operating while you are working on it, which could result in serious injury. Once the power is off, clear the work area of any unnecessary items, tools, or clutter that could cause you to trip or hinder your movement. Keeping children and pets away from the workspace is equally important, as the combination of heavy equipment and moving parts creates a hazardous environment. Make sure you have adequate lighting so you can see what you are doing clearly, and consider placing warning signs or barriers to prevent others from entering the area while you work. Taking these precautions seriously will significantly reduce the risk of accidents and ensure a safer working environment.
Identifying Your Door Type and Taking Accurate Measurements for a Proper Fit
Sectional, roller shutter, or up-and-over: determining what you're working with
Understanding the type of garage door you currently have is vital before you proceed with a replacement. Sectional garage doors, which consist of pre-made sections that slide vertically along tracks, are among the most popular choices due to their space-saving design and ease of operation. Roller shutters, on the other hand, wind up into a compact box above the opening, making them ideal for garages with limited headroom. Up-and-over doors swing upwards and rest horizontally beneath the ceiling, requiring more clearance but offering a classic look. Each door type has its own installation process and set of requirements, so identifying your current door type will help you choose the right replacement and understand the specific steps involved in fitting it. If you are considering switching to a different type, be aware that this may require modifications to your garage structure, such as installing new tracks or frames.
Measuring techniques and avoiding common mistakes when sizing your replacement
Accurate measurements are the foundation of a successful garage door replacement. Start by measuring the width and height of the existing door opening, taking note of any irregularities or imperfections in the frame. Do not rely on estimates or assume that standard sizes will fit your garage, as even a small error can result in a door that does not fit properly or operates poorly. Measure the drive-through width and height, especially if you are planning to add a new frame, as this can reduce the available space. Also, check the depth of your garage to ensure there is sufficient room for the door to open fully without obstructing vehicles or storage. When ordering a new door, consider whether you need to replace the frame as well, particularly if the existing one is rotten or damaged. GRP frames require precise measurements because they cannot be trimmed, while steel doors are best matched with steel frames for durability. Taking the time to measure carefully and double-check your figures will save you from costly mistakes and delays.
Safe Removal of the Old Door and Handling Spring Tension Correctly
Step-by-Step Disconnection of Springs, Cables, and Lifting Mechanisms
 Removing the old garage door is where many DIY enthusiasts run into trouble, particularly when dealing with the springs and cables. These components are under immense tension and can cause serious injury if not handled correctly. Begin by carefully disconnecting the garage door opener, following the manufacturer's instructions to the letter. Next, secure the door in a partially open position using clamps or locking pliers to prevent it from falling unexpectedly. Slowly and methodically release the tension in the springs using the correct winding bars, turning them a fraction at a time to avoid sudden releases of energy. Never use makeshift tools or attempt to rush this process, as doing so significantly increases the risk of injury. Once the tension is released, you can disconnect the cables and remove the springs. If you are uncertain about any part of this process, it is far safer to call in a professional who has the experience and equipment to handle these components safely.
Working with a Partner: Why Two Sets of Hands Prevent Serious Injuries
Garage door replacement is not a one-person job. The weight and size of the door, combined with the complexity of the installation, make it essential to have a partner to assist you. A second person can help hold the door steady while you disconnect components, preventing it from falling or shifting unexpectedly. They can also assist with lifting and positioning the new door, reducing the strain on your back and minimising the risk of dropping the door. Communication is key when working with a partner, so establish clear signals and instructions before you begin. If you do not have someone available to help, seriously consider hiring a professional to complete the installation. The cost of professional installation is far less than the potential medical bills or damage that could result from attempting the job alone. Many companies offer competitive rates and can complete the work quickly and safely, giving you peace of mind and ensuring that your new door operates correctly from the start.
Installing the New Door Safely and Conducting Final Security Checks
Fitting Tracks, Rollers, and Motors According to Manufacturer Guidelines
Once the old door is removed, you can begin installing the new one. Start by fitting the tracks according to the manufacturer's instructions, ensuring they are level and securely attached to the walls. Any misalignment at this stage can cause the door to operate poorly or become damaged over time. Next, install the rollers, choosing between nylon and steel options based on your budget and noise preferences. Nylon rollers are more expensive but quieter and longer-lasting, with a lifespan of around ten years compared to three to five years for steel rollers. If your new door is motorised, follow the installation guide carefully to connect the motor and remote control system. Ensure that the motor is compatible with your door and that all wiring is secure and correctly insulated. Test the remote control operation and make sure the emergency release is fitted and functioning properly. This feature allows you to manually open the door in the event of a power failure or motor malfunction, so it is essential to test it before you consider the installation complete.
Testing Operation and Adjusting Tension: Ensuring Smooth and Secure Functionality
After the door is installed, conduct a series of tests to ensure it operates smoothly and safely. Open and close the door several times, listening for any unusual noises or resistance that could indicate a problem. Check that the door is balanced by disconnecting the opener and manually lifting the door to the halfway point. If the door stays in place, the springs are correctly adjusted; if it falls or rises, you will need to adjust the tension. This adjustment should be done carefully and in small increments, as over-tightening the springs can be just as dangerous as leaving them too loose. Inspect all hardware, including screws, bolts, and brackets, to ensure everything is tight and secure. Apply a silicone-based lubricant to the rollers and tracks to reduce friction and noise, but avoid using oil-based lubricants, which can attract dirt and cause long-term damage. Finally, test the locking mechanism and any additional security features to ensure your garage is fully protected. Regular maintenance, including monthly visual inspections and lubrication every six months, will keep your new door operating smoothly and extend its lifespan. If you notice any issues during testing, address them immediately or consult a professional to avoid further complications.