Installing a precast lintel might seem like a straightforward task, but getting it right requires careful planning and attention to detail. Whether you are renovating an old property or building something new, the lintel you choose and how you fit it will significantly impact the structural integrity of your walls. This guide walks you through everything you need to know about selecting between precast concrete and steel I-beam lintels, and how to install them properly so they provide solid support for years to come.
Understanding lintel types: precast concrete versus steel i-beam options
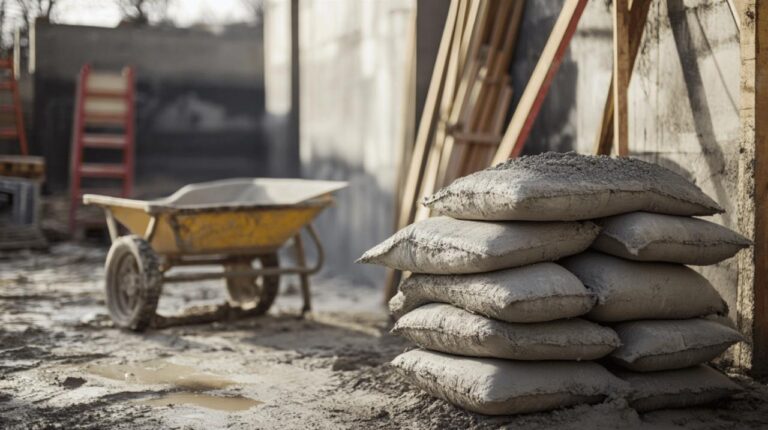
When you are faced with the decision of which lintel to use, it helps to understand the fundamental differences between concrete lintels and steel lintels. Both materials have their strengths and weaknesses, and the right choice often depends on the specifics of your project. Concrete lintels are known for their robustness and fire resistance, making them a popular choice for many builders. They are also relatively cost-effective, which can be a deciding factor if you are working within a tight budget. However, they tend to be quite heavy, which can make handling and installation more challenging, especially if you are working alone or with limited equipment.
On the other hand, steel lintels offer an excellent strength-to-weight ratio, meaning they can support substantial loads without being overly cumbersome. This makes them easier to manoeuvre and install, particularly for longer spans. Steel is also highly versatile and can be adapted to a wide range of applications, from door openings to large window openings. The downside is that steel can be more expensive than concrete, and if the coating is compromised, it may be prone to corrosion over time. Thermally broken steel lintels are available for projects where energy efficiency is a priority, as they help reduce cold bridging and improve the overall thermal performance of the building.
Assessing Load-Bearing Requirements and Wall Thickness for Your Project
Before you make a final decision on which lintel to use, you must carefully assess the load-bearing requirements of your structure. The weight that the lintel will need to support depends on several factors, including the thickness of the wall, the size of the opening, and any additional loads from floors or roofs above. For heavy-duty applications where significant weight bearing is required, both concrete and steel are suitable, but steel tends to perform better over longer spans. If your opening is relatively small and the load is modest, a concrete lintel may be perfectly adequate and more economical.
Wall thickness is another critical consideration. Lintels are available in various widths to match different wall constructions, from standard cavity walls to thicker blockwork. It is essential to choose a lintel that is wide enough to provide adequate support across the entire width of the wall. For internal blockwork walls and rendered facades, concrete lintels are often the preferred choice because they can be easily integrated into the structure and painted to match the surrounding masonry. In situations where the wall is particularly thick or the load is concentrated, you might need to use padstones to help distribute the weight more evenly and prevent localised stress on the brickwork or blockwork.
When to Opt for Steel I-Beam Lintels Over Precast Concrete Solutions
There are certain scenarios where steel lintels are the superior option. If you are working on a project that requires long spans, steel is generally the better choice because of its superior strength-to-weight ratio. For example, if you need to span an opening over three metres, a steel lintel will often be lighter and easier to handle than an equivalent concrete lintel, while still providing the necessary structural support. Steel is also advantageous when you need to minimise building costs in terms of labour and equipment, as the lighter weight reduces the need for heavy lifting gear or additional manpower.
However, steel is not always the best option. In coastal environments where salt exposure is a concern, or in underground applications where moisture levels are high, concrete lintels are often preferred. Galvanised steel can be vulnerable to corrosion in these conditions, whereas concrete is far more resistant to degradation from environmental factors. Similarly, if you are working below the damp-proof course level, concrete is the recommended material because it performs better in damp conditions. For areas where the lintel will be visible, such as on a fair-faced wall, concrete can be a good choice because it can be painted to blend in with the surrounding brickwork. Ultimately, the decision should be based on a combination of structural requirements, environmental conditions, and aesthetic preferences.
Preparing the opening: essential steps before lintel installation
Proper preparation of the opening is absolutely crucial for a successful lintel installation. Rushing this stage or cutting corners can lead to serious problems down the line, including structural failure or water ingress. The first step is to ensure that the area where the lintel will sit is completely clear of any loose brickwork, mortar, or debris. Any unstable material must be removed so that the lintel will rest on solid, sound masonry. If the existing brickwork or blockwork is damaged or crumbling, it may need to be repaired or replaced before you proceed with the installation.
Once the area is clear, you need to check that the bearing surfaces on both sides of the opening are level and capable of supporting the weight of the lintel and the load it will carry. Uneven bearing surfaces can cause the lintel to sit at an angle, which can lead to cracking or failure over time. If necessary, use a spirit level and make adjustments by adding or removing mortar to create a level base. The length of the bearing is also important and should be determined based on the length of the lintel and the load it will carry. For shorter lintels up to nine hundred millimetres, a bearing of one hundred millimetres is generally sufficient, but for longer lintels up to two point seven metres, you should aim for a bearing of one hundred and fifty millimetres. For openings over three metres, a two hundred millimetre bearing is recommended to ensure adequate support.
Clearing Debris and Ensuring Sound Brickwork for Proper Support
Clearing debris is not just about making the site tidy; it is a vital step in ensuring the structural integrity of the installation. Any loose fragments of brick or old mortar can create weak points that compromise the bearing capacity of the lintel. Take the time to thoroughly inspect the area and use a brush or vacuum to remove all dust and particles. This will also help the mortar bond more effectively when you come to apply it. If you discover any cracks or damage in the brickwork, these should be repaired before you proceed. In some cases, it may be necessary to remove and replace damaged bricks or blocks to create a sound foundation for the lintel.
It is also worth checking the overall condition of the wall structure. If the wall is old or has been subjected to movement, there may be underlying issues that need to be addressed before you install a new lintel. Consulting a qualified builder or structural engineer is advisable if you have any concerns about the stability of the existing structure. They can provide guidance on whether additional reinforcement or repairs are needed. Remember, the lintel is only as strong as the structure that supports it, so investing time in proper preparation will pay dividends in the long run.
Preparing the Correct Mortar Mix and Bearing Surfaces
The mortar mix you use is another critical element of a successful lintel installation. A good quality cement-based mortar is essential for spreading the load evenly and ensuring a strong bond between the lintel and the masonry. The mix should be fairly stiff but workable, with a consistency that allows you to apply it smoothly without it being too runny. A typical mix ratio for this type of application is one part cement to three parts sand, but you should follow the manufacturer's recommendations or consult a professional if you are unsure.
Before you apply the mortar, dampen the bearing surfaces slightly with water. This prevents the dry masonry from drawing moisture out of the mortar too quickly, which can weaken the bond and lead to cracking. Apply a generous layer of mortar to both bearing surfaces, ensuring that it is evenly distributed across the full width of the wall. The mortar bed should be thick enough to allow you to adjust the level of the lintel once it is in place, but not so thick that it squeezes out excessively when the lintel is lowered into position. Taking care at this stage will make the installation process much smoother and help ensure a durable, long-lasting result.
Installing your precast lintel: a step-by-step approach
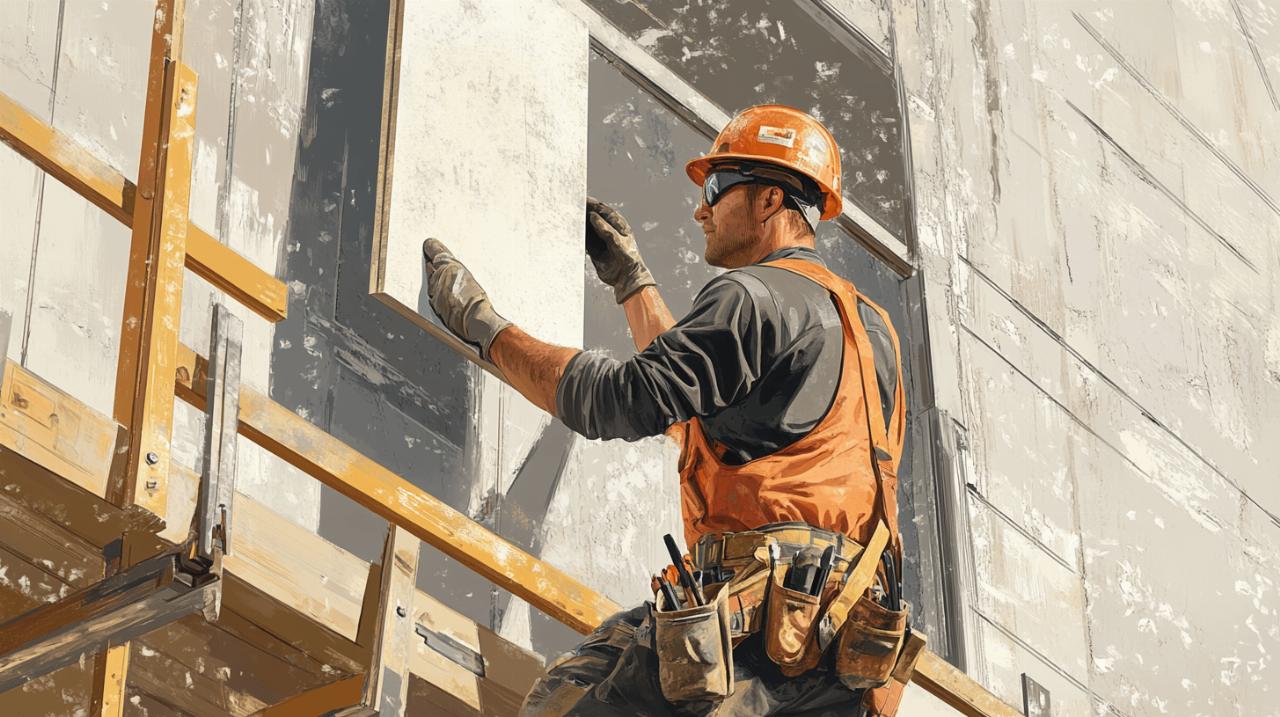 With the opening properly prepared and the mortar ready, you can now begin the installation of the lintel itself. This is the most critical phase of the process, and it is important to work carefully and methodically to avoid mistakes. Start by recruiting a helper if the lintel is particularly heavy or long, as trying to manoeuvre a large concrete lintel on your own can be dangerous and may result in injury or damage to the lintel. Before lifting the lintel, double-check that the mortar bed is in place on both bearing surfaces and that you have all the necessary tools and equipment to hand, including a spirit level, a mallet or rubber hammer, and any props or supports you may need.
Carefully lift the lintel and position it over the opening. Lower it gently onto the mortar bed, ensuring that it is centred and that the bearing lengths on both sides are equal. Once the lintel is in place, use a spirit level to check that it is perfectly level in both directions. If the lintel is not level, tap it gently with a mallet to adjust its position. You may need to add or remove small amounts of mortar to achieve the correct level. It is essential that the lintel is perfectly horizontal, as even a slight tilt can cause problems with the brickwork or blockwork above and may lead to cracking or structural issues over time.
Positioning and Levelling the Lintel with Proper Mortar Application
Positioning the lintel accurately is not just about aesthetics; it is a fundamental requirement for the structural integrity of the wall. The lintel must sit squarely on the bearing surfaces, with the load distributed evenly across the full width of the wall. If the lintel is tilted or unevenly supported, the weight from above will not be distributed properly, which can lead to localised stress and potential failure. Once you have the lintel roughly in position, take your time to fine-tune the level. Check the lintel from multiple angles and make adjustments as needed until you are satisfied that it is perfectly level.
As you adjust the lintel, keep an eye on the mortar beneath it. The mortar should be compressed slightly as the lintel settles, but it should not be squeezed out to the point where there is no mortar left to support the lintel. If too much mortar is displaced, you may need to lift the lintel again and add more mortar to the bearing surfaces. This can be a delicate balancing act, but it is important to get it right. Once the lintel is level and properly supported, check that it is aligned with the face of the wall and that any cavity tray or weep joint is correctly positioned to prevent water ingress.
Supporting the Structure During the Curing Process
After the lintel is in place and level, the next step is to ensure that it remains stable while the mortar cures. For openings wider than twelve hundred millimetres, it is essential to use props or supports to prevent the lintel from sagging or shifting as the mortar sets. These props should be positioned at regular intervals, typically every twelve hundred millimetres, and should remain in place for at least twenty-four hours. During this time, the mortar will cure to approximately sixty percent of its full strength, which is sufficient to support the weight of the lintel. However, full curing takes around twenty-eight days, so it is important not to rush the process or remove supports prematurely.
While the mortar is curing, avoid placing any additional loads on the lintel or disturbing the surrounding brickwork. If you are planning to continue building above the lintel, wait until the mortar has reached sufficient strength before adding more courses of bricks or blocks. This patience is crucial for ensuring the long-term stability of the structure. If you are working in cold or damp conditions, be aware that curing times may be extended, and you may need to take additional precautions such as covering the work to protect it from frost or rain.
Finishing Touches and Long-Term Considerations for Lintel Installations
Once the lintel is installed and the mortar has cured, there are a few finishing touches that will help ensure the longevity and performance of the installation. One of the most important steps is to seal any gaps between the lintel and the surrounding masonry. These gaps can be a potential entry point for water, which can cause damp problems and lead to deterioration of the brickwork or corrosion of any metal elements. Use a suitable sealant or mortar to fill any voids, paying particular attention to the joints at the ends of the lintel where it meets the masonry on either side.
If you are working on an external wall, it is essential to ensure that a cavity tray is installed above the lintel to direct any water that penetrates the outer leaf of the wall back out through a weep joint. This is a critical detail that is often overlooked but can make a significant difference in preventing water ingress and associated problems. The cavity tray should extend the full width of the cavity and should be positioned so that it slopes downwards towards the outer leaf, allowing water to drain away effectively. The weep joint should be left open to allow water to escape, and it should be regularly checked to ensure it does not become blocked with debris.
Sealing Gaps and Preventing Water Ingress Around the Lintel
Sealing gaps is not just about keeping water out; it also helps to maintain the thermal performance of the wall. Any gaps or voids can create pathways for air movement, which can lead to draughts and increased heat loss. By sealing these gaps properly, you can improve the energy efficiency of the building and create a more comfortable internal environment. Use a high-quality sealant that is suitable for external use and that can withstand the movement and expansion of the masonry over time. Apply the sealant evenly and smooth it off to create a neat finish that blends in with the surrounding brickwork.
In addition to sealing gaps, it is also worth inspecting the surrounding masonry for any signs of cracking or movement. If you notice any issues, these should be addressed promptly to prevent them from developing into more serious problems. Regular maintenance and inspection of the lintel and the surrounding structure will help ensure that it continues to perform effectively for many years to come. If you are using thermally broken lintels, pay particular attention to the condition of the thermal break element, as damage to this component can compromise the thermal performance of the lintel and lead to increased cold bridging.
Working with Monobloc and Perforate Lintels: Special Considerations
Monobloc and perforate lintels have some unique characteristics that require special consideration during installation. Monobloc lintels are designed to support both the inner and outer leaves of a cavity wall, and they typically incorporate a cavity closer and insulation within the lintel itself. This can simplify the construction process and help improve the thermal performance of the wall. However, it is important to ensure that the monobloc lintel is correctly aligned so that the cavity and insulation elements line up with the rest of the wall construction.
Perforate lintels, which have pre-drilled holes or perforations, are designed to allow services such as electrical cables or plumbing to pass through the lintel. This can be a convenient feature, but it is important not to enlarge these holes or drill additional ones, as this can weaken the lintel and compromise its structural integrity. If you need to pass services through the lintel, plan the layout carefully in advance and use the existing perforations wherever possible. If you are working with pre-stressed concrete lintels, be especially cautious, as drilling into these can damage the internal steel reinforcement and significantly reduce the load-bearing capacity of the lintel.
Finally, if you are unsure about any aspect of the installation, do not hesitate to seek professional advice. A qualified builder or structural engineer can provide guidance on the best type of lintel to use, the correct bearing lengths, and any additional reinforcement or supports that may be required. Getting it right from the start will save you time, money, and potential headaches in the future, and it will ensure that your lintel provides solid, reliable support for many years to come.