Maintaining a wooden garden shed is one of those tasks that might not seem immediately pressing, yet the old adage rings true: a stitch in time saves nine. Your garden shed, whether it's a modest structure for storing tools or a more elaborate cabin-style retreat, faces constant exposure to the elements. Rain, snow, frost, and even the occasional bout of sunshine all take their toll on timber. Repainting your wooden garden shed is a straightforward endeavour that not only refreshes its appearance but also provides essential protection against moisture, rot, and decay. Tackling any underlying issues with the wood before you pick up a paintbrush ensures that your efforts result in a finish that lasts and a structure that remains sound for years to come.
Spotting and treating wood rot before you paint
Identifying Signs of Wood Rot and Decay in Your Garden Shed
Before you even think about applying a fresh coat of paint or stain, it's crucial to inspect your shed thoroughly for any signs of wood rot or decay. Wood is naturally susceptible to damage from moisture, and over time, this can lead to two primary types of rot: dry rot and wet rot. Dry rot is caused by fungi that feed on the timber, leaving it weak and crumbly, and it is more commonly associated with older structures where conditions allow the fungus to thrive. Wet rot, on the other hand, occurs when the moisture content of the wood exceeds thirty percent and oxygen is present. The good news is that wet rot will cease to progress if the timber is allowed to dry out properly. Look for telltale signs such as discolouration, soft or spongy patches, and a musty odour. Pay particular attention to areas where the wood is in contact with the ground or where water tends to accumulate, as these are the most vulnerable spots. Checking the shed's roof, joints between panels, and the base is essential. If you notice any flaking paint or areas where the wood feels unusually soft when prodded, these are red flags that demand immediate attention.
Remedying rotten wood: replacement and preservative treatment methods
Once you have identified areas affected by rot, it's vital to address them before proceeding with any repainting. For sections where the rot is extensive, the best course of action is to replace the damaged timber entirely. This might involve removing and replacing individual boards or sections of cladding. When installing replacement wood, opt for pressure-treated or naturally rot-resistant varieties, especially for parts that will be in contact with the ground or exposed to significant moisture. For minor cases of decay or areas where the damage is superficial, you can treat the wood with a high-quality wood preservative. These products penetrate the timber and provide a barrier against fungi and moisture. After applying a preservative, allow the wood to dry completely before moving on to the next stage. In cases where small holes or cracks have developed, use a wood filler to restore the surface. Apply the filler generously, allow it to cure, and then sand it smooth to create an even surface. This step is essential for ensuring that the subsequent coats of paint or varnish adhere properly and provide a uniform finish. Remember that addressing rot and decay at this stage is not just about aesthetics; it's about preserving the structural integrity of your shed and preventing more costly repairs down the line.
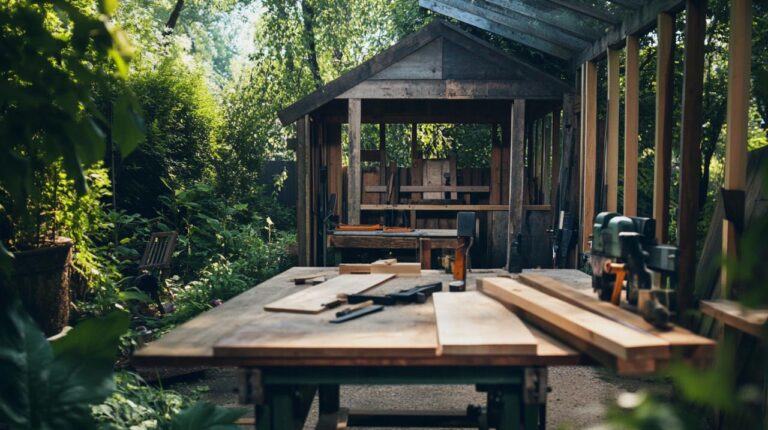
Proper Surface Preparation: The Foundation of a Brilliant Finish
Cleaning and sanding your wooden shed thoroughly
Preparation is the cornerstone of any successful shed painting project. A well-prepared surface ensures that the paint adheres properly and provides long-lasting protection. Begin by giving your shed a thorough clean. Use a mixture of warm soapy water and a stiff brush to scrub away dirt, grime, mildew, and any loose or flaking paint. Pay particular attention to corners, joints, and areas around windows and doors where debris tends to accumulate. Once you have scrubbed the entire surface, rinse it thoroughly with clean water and allow it to dry completely. This might take a day or two, depending on the weather, but it's worth the wait. Painting over a damp surface can trap moisture beneath the paint, leading to blistering and peeling later on. Once the shed is dry, the next step is sanding. Use a medium-grit sandpaper to smooth down any rough patches, remove remaining loose paint, and create a slightly abraded surface that helps the new paint to grip. For larger sheds, a power sander can save time and effort, but a hand-held sanding block works perfectly well for smaller structures. After sanding, wipe down the surface with a damp cloth to remove any dust or residue. This final clean ensures that the surface is pristine and ready for priming or painting.
Selecting the Right Primer for Exterior Wooden Structures
Applying a primer is a step that some might be tempted to skip, but doing so can compromise the durability and appearance of the final finish. A good primer serves multiple purposes: it seals the wood, provides a uniform base for the topcoat, and enhances the adhesion of the paint. For exterior wooden structures like sheds, choose a primer specifically formulated for outdoor use and compatible with the type of paint you plan to apply. Water-based primers are popular for their low odour and ease of cleaning, and they work well with water-based paints. However, if you are using a solvent-based paint, a solvent-based primer may be more appropriate. When applying the primer, use a brush for detailed areas such as around windows, doors, and edges, and a roller or even a pump sprayer for larger flat surfaces. A pump sprayer can be particularly useful for achieving a quick and even application, especially on larger sheds or fences. Apply the primer in thin, even coats and allow it to dry completely according to the manufacturer's instructions. Once the primer is dry, inspect the surface for any missed spots or imperfections, and apply a second coat if necessary. This attention to detail at the priming stage will pay dividends when it comes to the final appearance and longevity of your shed's finish.
Choosing and Applying the Best Protective Coatings
Paint, stain, or varnish: which product suits your shed best?
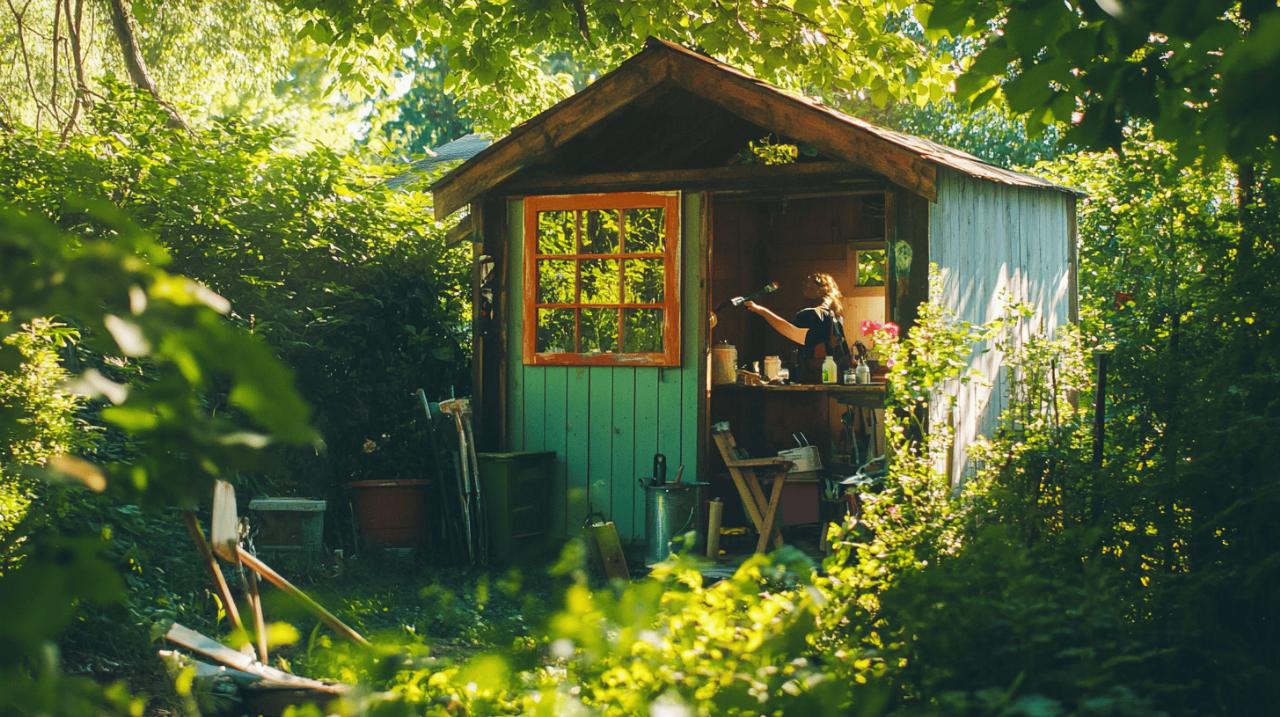
 When it comes to protecting your wooden garden shed, you have several options: paint, stain, varnish, or even a saturator. Each product has its own advantages and is suited to different preferences and conditions. Paint offers the most robust protection and is available in a vast array of colours, allowing you to personalise your shed to match your garden aesthetic. Lighter colours reflect sunlight and can help keep the interior cooler during warmer months. Modern exterior wood paints are formulated to be durable, flexible, and resistant to cracking and peeling. Stains, on the other hand, penetrate the wood and enhance its natural grain and texture while still providing protection against moisture and UV damage. Stains are ideal if you want to maintain a more natural, rustic appearance. Varnishes and lacquers create a clear, glossy finish that showcases the beauty of the timber while offering a hard-wearing protective layer. They are particularly suitable for high-quality or decorative woodwork. Saturators are another option; these products soak deep into the wood, providing long-lasting protection from within. Some products, such as those from Ronseal's Fence Life Plus range, are designed to be versatile and can be used on both sheds and fences, offering protection that can last up to five years. When selecting your product, consider the type of wood your shed is made from, the local climate, and how much maintenance you are prepared to undertake in the future. Always choose products that are specifically designed for exterior use and that are compatible with any previous treatments applied to the wood.
Mastering Application Techniques for a Professional, Long-Lasting Result
Once you have selected your paint, stain, or varnish, the application technique is key to achieving a professional and long-lasting finish. Timing is everything: avoid painting in direct sunlight, as this can cause the paint to dry too quickly and lead to an uneven finish or brush marks. Similarly, do not paint during periods of rain or high humidity, as moisture can interfere with the drying process. The ideal conditions are a dry, overcast day with moderate temperatures. Start by applying the product in thin, even coats. For detailed areas such as window frames, door edges, and corners, use a good-quality brush. For larger flat surfaces, a roller or a pump sprayer will speed up the process and help achieve a smooth, consistent finish. If you are using a sprayer, practice on a piece of scrap wood first to get a feel for the equipment and adjust the spray pattern as needed. Apply the first coat and allow it to dry completely before applying the second. Most products require at least two coats for optimal protection, and some may benefit from a third coat, especially on areas that are particularly exposed to the elements. Between coats, lightly sand the surface with a fine-grit sandpaper to remove any dust or imperfections and to help the subsequent coat adhere better. Wipe away any sanding residue with a damp cloth before applying the next coat. Pay particular attention to horizontal surfaces such as window sills and the top edges of the shed, as these are prone to water pooling and therefore require extra protection. Ensure that all joints, seams, and edges are well-covered, as these are common points of moisture ingress. If you are painting the interior of the shed as well, the same principles apply, although you may choose a different product or colour to suit the indoor environment.
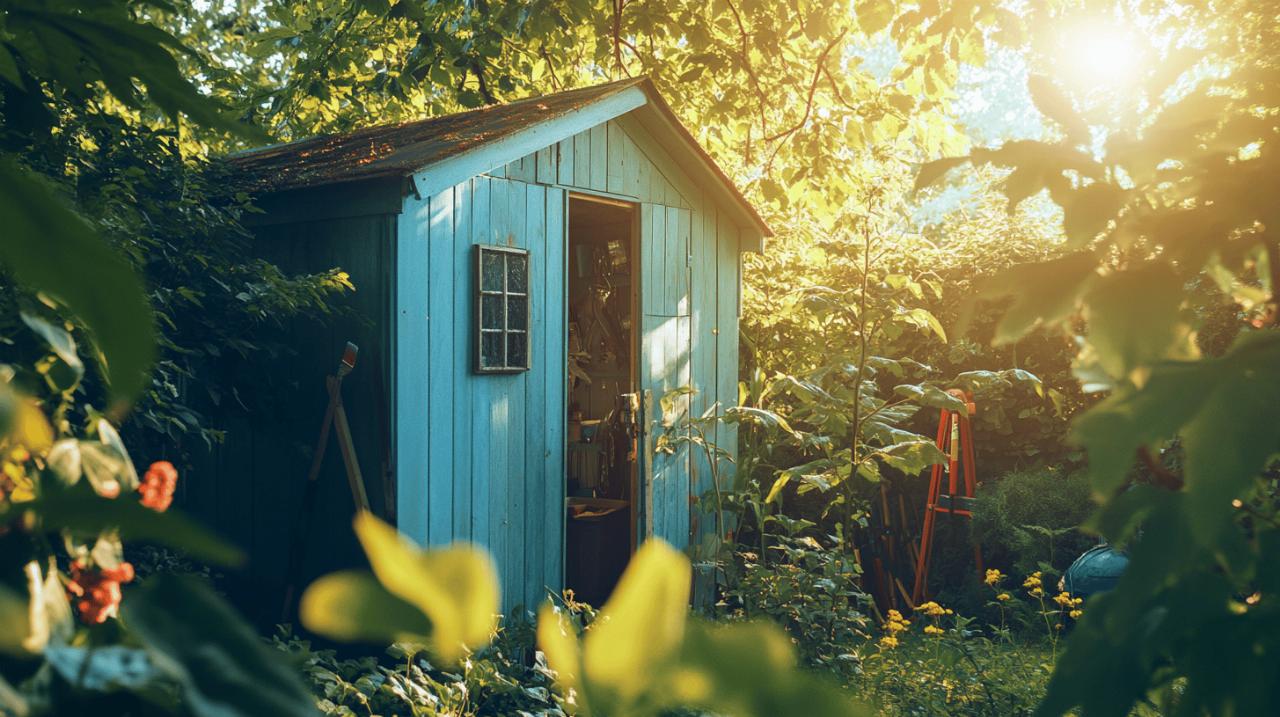
Maintaining your shed's appearance between repaints
Routine inspections and preventative care tips
A freshly painted shed looks wonderful, but maintaining that appearance and ensuring the wood remains protected requires ongoing attention. Regular inspections are the best way to catch potential problems before they escalate. Make it a habit to walk around your shed at least once every few months, especially after periods of heavy rain or severe weather. Look for signs of peeling paint, cracks, or areas where moisture might be penetrating the wood. Check the roof for any missing or damaged shingles or felt, as a leaking roof is one of the most common causes of water damage in sheds. Inspect the guttering, if fitted, to ensure it is clear of debris and functioning properly. Blocked gutters can lead to water overflowing and running down the sides of the shed, which accelerates rot and decay. Keep the area around the base of the shed clear of leaves, grass clippings, and other debris, as these can trap moisture against the wood. Avoid stacking items directly against the shed walls, as this can restrict air circulation and create damp conditions. In winter, open doors and windows occasionally to allow fresh air to circulate inside, reducing the risk of condensation and damp. Good ventilation is key to keeping moisture levels in check and preventing the growth of wood fungi. If your shed is fitted with glazing, check that the silicon sealing around the frames remains intact and watertight. Reapply sealant where necessary to prevent leaks.
Touching up and protecting against future weather damage
Even with regular maintenance, some wear and tear is inevitable. When you notice small areas of damage or peeling paint, address them promptly with a touch-up. Keep a small tin of the original paint or stain on hand so that you can quickly repair any minor blemishes. Clean the affected area, lightly sand if needed, and apply a thin coat of paint or stain. This simple step can prevent minor damage from developing into a more serious problem that requires extensive repairs. To further protect your shed against future weather damage, consider additional measures such as applying a waterproof membrane beneath the shed floor during construction or refurbishment. Ensure that the shed is installed on a proper sub-base, such as paving slabs or a gravel bed, to lift it off the ground and allow air to circulate underneath. Use rot-resistant or pressure-treated wood for any parts that are in direct contact with the ground. Seal the joints between panels with a high-quality weatherproof sealant to make them watertight, and ensure that the external cladding is either pressure-treated or painted with a durable finish. The roof is particularly important; invest in a good quality roof covering and check it regularly for signs of wear. A well-maintained roof will prevent water from entering the shed and causing damage to the interior and the timber structure. By taking these preventative steps and maintaining a regular inspection schedule, you can extend the lifespan of your shed significantly and keep it looking smart and well-cared-for year after year.